I can’t even lie…I used to be that designer sending 4 different emails just to ask a client for their logo, brand colors, and please oh please their preferred file type 😩. Every project felt like a puzzle I was piecing together from scattered messages.
But the truth is, when you’re a one person team, you don’t have time for that kind of chaos. You’re the designer, the project manager, the admin, the accounts department, everything. And without a solid onboarding process, things slip. Timelines get messy. Boundaries get crossed. You spend more time chasing clients than creating for them.
That’s why I started using Notion for client onboarding to finally bring structure into my process without losing my mind.
Want to set up your full freelance business properly?
Grab my free [Freelance Setup Checklist] everything from inquiry to payment, in one place.
What Should a Freelance Designer Onboarding Process Include?
I used to think onboarding just meant sending a contract and hoping for the best 😭. But once I started using a Notion client onboarding template, I realized how much smoother projects run when you set the tone from day one.
Here’s what I include in mine (and what I recommend for any freelance designer trying to look and feel more professional):
1. A Welcome Page or Message
It doesn’t need to be deep. Just a quick “Hey, welcome!” with a rundown of what’s coming next. I use this section to set expectations and make the client feel like they’re in good hands.
2. A Simple Client Questionnaire
You don’t want to start designing a logo only to find out they’re still unsure about their brand colors. Ask about their goals, target audience, visual inspiration, preferred deadlines, everything you’ll need before opening a design file.
3. A Project Timeline
Map out what’s happening, when, and what you need from them at each stage. It avoids that “umm, just checking in again” energy later on. You can create a quick table view or calendar inside Notion, clean and visual.
4. Contract + Invoice Section
Link to the signed contract and the invoice here. It keeps everything in one place, and also lowkey reminds them that you are not working for vibes. You’re a business, babe.
5. Shared Folder Link
Google Drive or Dropbox, your choice. I include a shared folder where they can upload brand assets and where I’ll drop final files when the project is done.
Setting all this up might sound like work, but it saves so much more work down the line. Plus, clients respect you more when you show up prepared. You can get our Notion onboarding template here, that way you don’t have to create yours from scratch.
Need help beyond onboarding?
My [Make Your First 100K as a Freelancer eBook] breaks down pricing, contracts, pitching, and how to stop looking like a beginner even when you are one. And it is FREE.
Why I Use Notion for Client Onboarding (and Honestly, Why You Should Too)
I’ve tried Google Docs, PDFs, long email threads, and while they technically work, they never felt put together. Once I switched to Notion for freelancers, everything just… clicked.
Here’s why I swear by it:
1. It’s clean and customizable
Notion gives you that crisp, minimal layout that looks so polished, even if you’re still figuring it out behind the scenes. You can add headings, dividers, emojis, and make it feel like you.
2. You can turn any setup into a template
I set up my first onboarding page once, and now I just duplicate it for every new client. That’s it. Saves time. Keeps things consistent.
3. Everything lives in one place
No more sending a calendar invite, a Google Drive link, and a separate doc for feedback. You can embed all of that inside Notion: timeline, brief, payment info, client uploads, it’s all there.
4. It makes you look like you have your life together
Even if you’re freelancing from bed (like I often do), Notion makes your business feel buttoned up. Clients are usually so impressed they ask, “Wait…what app is this?” 👀
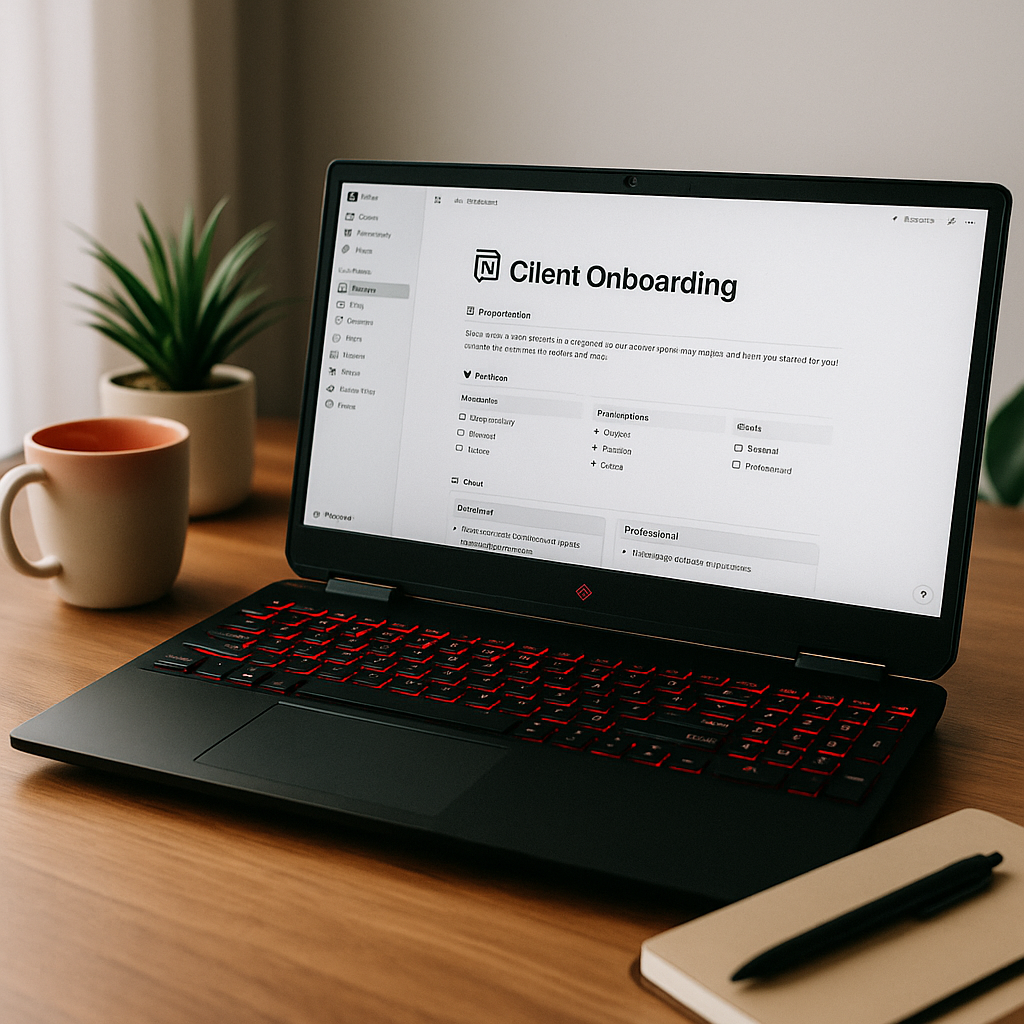
📸 Want a peek inside my setup?
[This is what my client onboarding dashboard looks like inside Notion.]
How to Set Up Your Own Notion Client Onboarding Template (Step-by-Step)
Don’t overthink it, your first Notion client onboarding template doesn’t have to be fancy. The goal is to create a reusable, organized space that saves you time and makes the client experience smoother.
Here’s exactly how I set mine up:
Step 1: Create a New Notion Page for Each Client
I usually name it something simple like:
“Client Name – Branding Project” or “Website Redesign – [Client]”
That way, I can instantly find it when I’m juggling multiple clients.
Step 2: Add These Core Sections to the Page
This becomes your repeatable template:
- Welcome message (“Excited to work with you! Here’s how we’ll get started…”)
- Project overview (a short summary of what they hired you for)
- Timeline section (embed a calendar or create a timeline in table view)
- Checklist or to-do board (for what you and they need to do)
- Files & asset upload section (link to shared folders)
Step 3: Embed Key Docs and Resources
I like to embed:
- A link to the signed contract (from Drive or Dropbox)
- The invoice
- Their completed questionnaire
- Any brand guidelines or references
It keeps everything in one scroll, no back and forth emails.
Step 4: Use Toggles or Tabs to Organize Feedback & Rounds
Add toggle headings for things like:
- Round 1 Designs
- Client Feedback
- Final Files
This gives the page structure and keeps long projects tidy.
Step 5: Turn It Into a Template
Once you’re happy with the layout, click “Duplicate” and save it as a reusable template. Now every time you land a new client, setup takes 5 minutes max.
That’s it. Set it up once, duplicate forever, and enjoy the peace of never sending another “Hey just following up on the logo files” email again.

Bonus Tips for a Smoother Client Onboarding Experience
Even with the best Notion client onboarding template, things can still go sideways if you’re not intentional. Here are a few things I learned the hard way:
Only send the onboarding page after the contract is signed
I know it’s exciting to get started, but don’t jump ahead. No signed contract = no project. Protect yourself first.
Keep your design branded but simple
Use your fonts, your tone, and maybe a dash of your brand colors, but don’t make it overwhelming. Clean = confident.
Add a mini intro video or Loom
Clients love a short “here’s how to navigate this” walkthrough. It makes everything feel more personal, even if you’ve never met.
Include boundaries clearly
This is your chance to set expectations early. Add things like:
“Revisions must be submitted within 48 hours” or
“Communication will happen via email, not WhatsApp.”
You’ll thank yourself later.
Final Thoughts: You’re the Designer, Not the Admin
If you’re feeling like every project starts with a little chaos, it’s not because you’re bad at freelancing, it’s because you don’t have a system yet.
Setting up your Notion client onboarding template is one of those small moves that makes you look 10x more professional, and saves you hours of admin stress. You can get our Notion onboarding template here, that way you don’t have to create yours from scratch.
Want to go beyond onboarding?
I wrote an eBook for freelancers like you who are ready to move from “just trying to figure it out” to actually getting paid consistently.
→ [Grab Make Your First 100K as a Freelancer for free]
Or start simpler with my [Free Freelance Setup Checklist] — from inquiry to payment, all in one clean doc.


Leave a Reply