Why Client Onboarding Can Make or Break You
When I first started freelancing, I was so focused on getting the client that I had no plan for what happened after they said yes. It was messy. Projects dragged. Deadlines moved. Communication got weird. I realized quickly: a smooth onboarding process is everything.
Client onboarding sets the tone. It builds trust. It shows you’re professional and prepared. And honestly, it makes your job easier.
If you’re new to freelancing or still winging it, I created templates to help you simplify this, you’ll find them linked throughout this post.
These templates are designed to make client onboarding for freelancers feel effortless.

What is Freelancer Onboarding and Why It Matters
Freelancer onboarding is the process you follow once a client agrees to work with you. It’s how you welcome them, set expectations, and get everything you need to begin confidently.
Why does this matter?
- Clarity: Everyone knows what’s happening and when.
- Professionalism: You look organized and trustworthy.
- Fewer Revisions: With expectations clear, there’s less back and forth.
When you skip onboarding, you risk confusion and missed deadlines. Clients can feel uncertain or even ghost you halfway. A simple freelancer onboarding checklist solves this.
Proposal Template
This is what you send before you get the yes.
Use it after a potential client shows interest, maybe from a cold email, an Upwork listing, or a DM. A proposal helps you present your offer clearly.
What’s inside:
- Quick project summary
- Scope and deliverables
- Timeline
- Price (optional)
- CTA (book a call or sign below)
It makes you look sharp and saves time. Instead of repeating the same info over and over, just plug it into your proposal.
Bonus tip: Customize your template with your branding. Make it look like it came from a real business.
📥 Download your proposal template here
Onboarding Checklist
You’ve got the yes! What’s next? This checklist walks you through every step.
What it covers:
- Send a confirmation email
- Collect any brand assets or files
- Confirm payment terms
- Set your communication expectations
- Share your workflow
This freelancer onboarding checklist helps you avoid awkward follow-ups. Clients know what to expect. You look prepared from day one.
📥 Get the checklist here for free
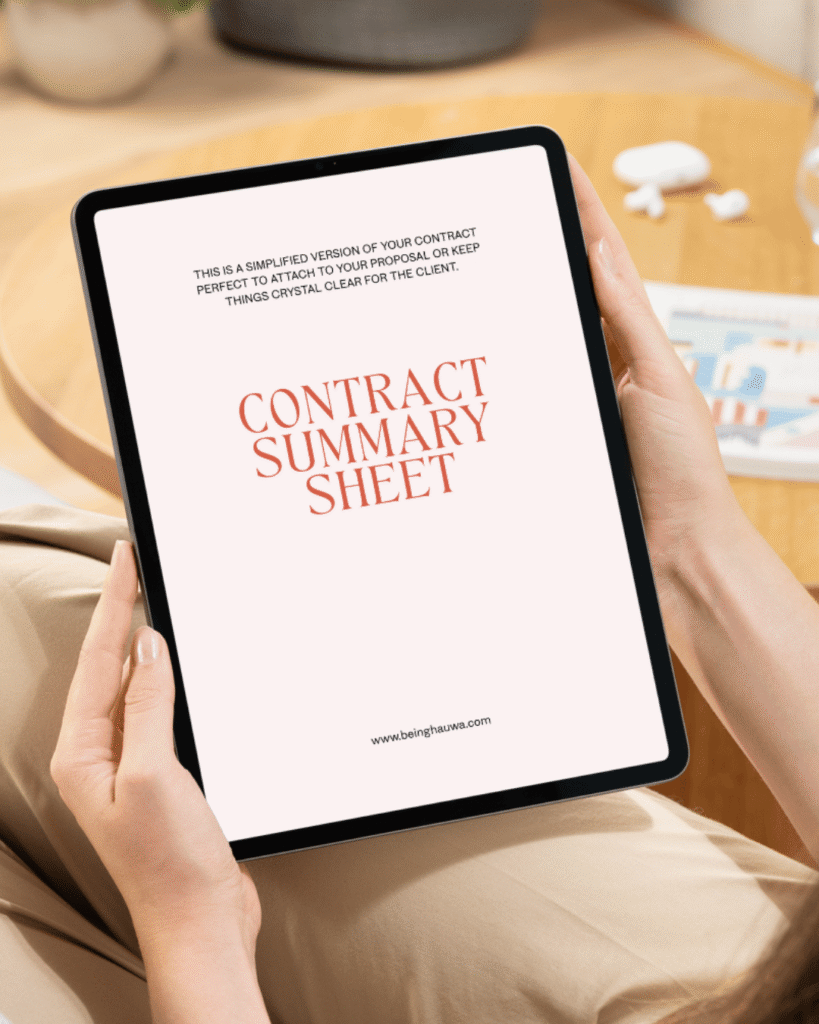
Contract Summary Sheet
Not every project needs a 10-page contract. But every project does need clarity.
That’s where this sheet comes in. It’s a one-pager that outlines:
- What’s included
- Timeline
- Revisions
- Payment terms
You can still link to a full contract if you want, but this is perfect for short or informal gigs.
It’s also great if your client hates legal docs (don’t we all?).
📥 Access the downloadable sheet now for free
How to Put It All Together: Your First Impressive Client Experience
Here’s how to use all three:
- Start with your Proposal Template
- Once they say yes, send the Contract Summary Sheet
- Finally, use your Onboarding Checklist to kick things off
Make sure you:
- Add your logo and brand colors
- Include your payment details early
- Let clients know how to reach you (email? Slack? Notion?)
If you want help customizing these to match your brand, you can book a consult with me.
Conclusion
Onboarding doesn’t have to be overwhelming. With just a few steps, you can create a system that saves time, avoids confusion, and makes clients love working with you.
If you need a custom onboarding system or brand setup, you can book a consultation with me. You can do this once you have access to the vault. Let’s make your freelance life smoother.


Leave a Reply